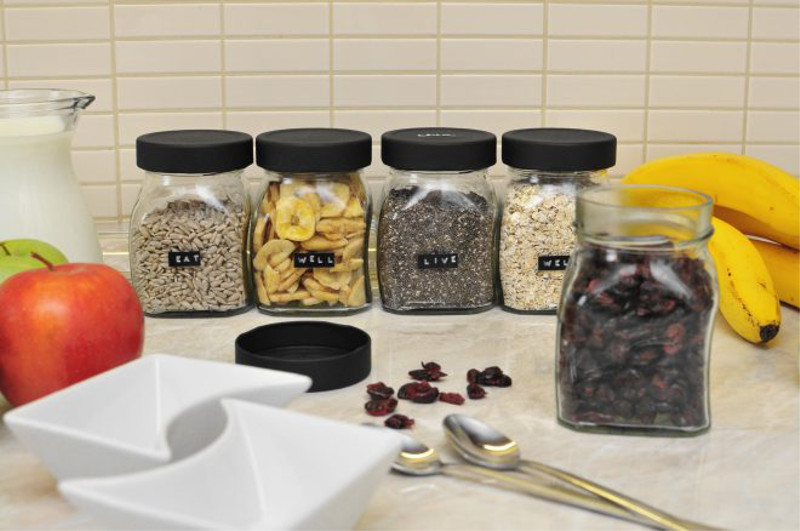
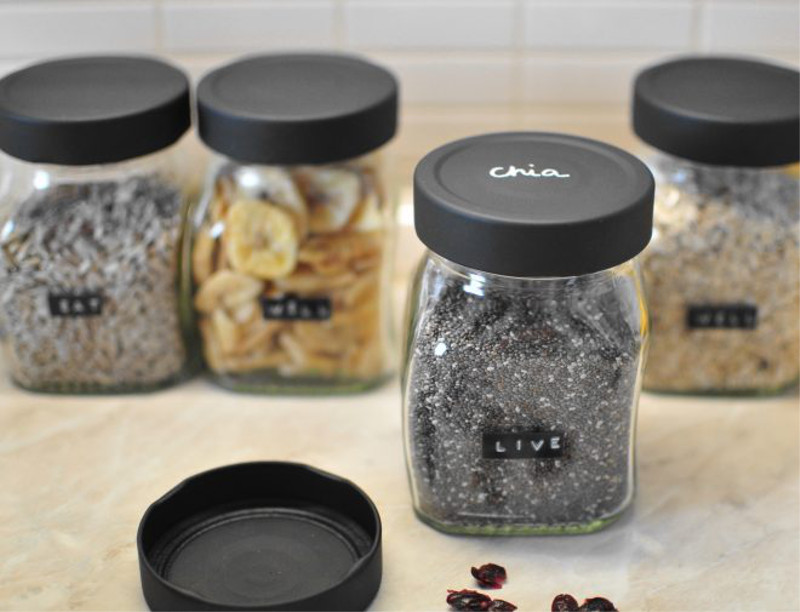
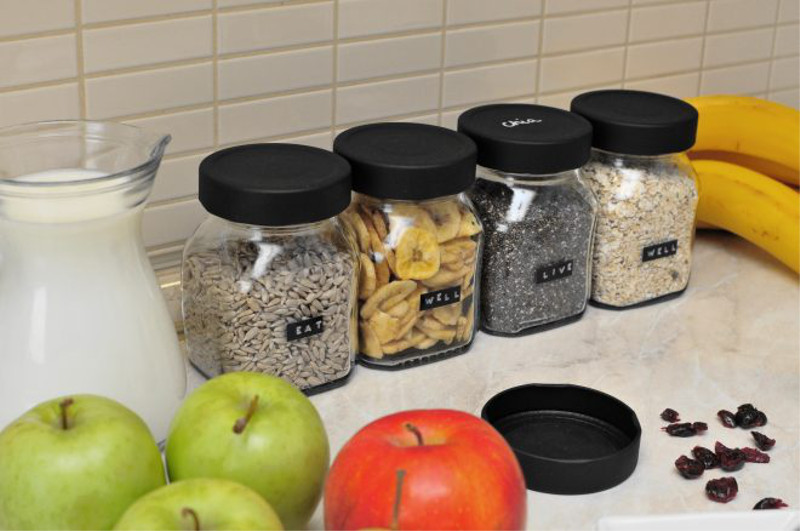
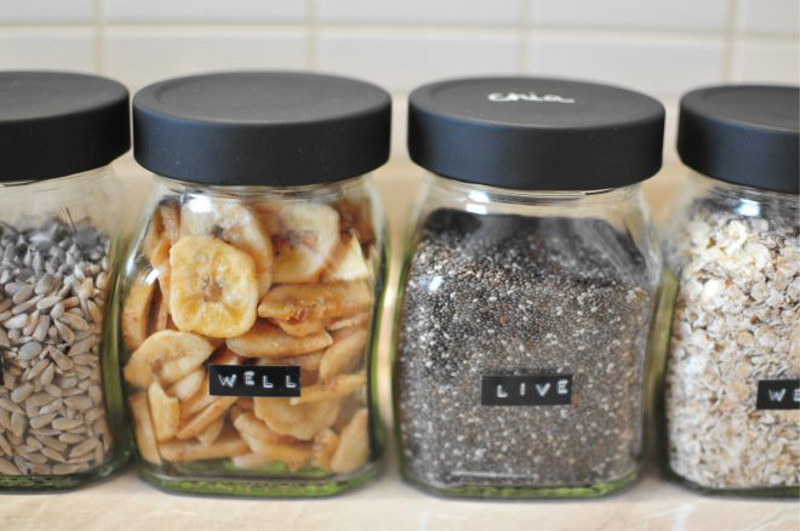
In this post we show you a simple tutorial which will allow you to upcycle ordinary jam jars and turn them into stylish kitchen storage that you’ll want to keep on display
Materials:
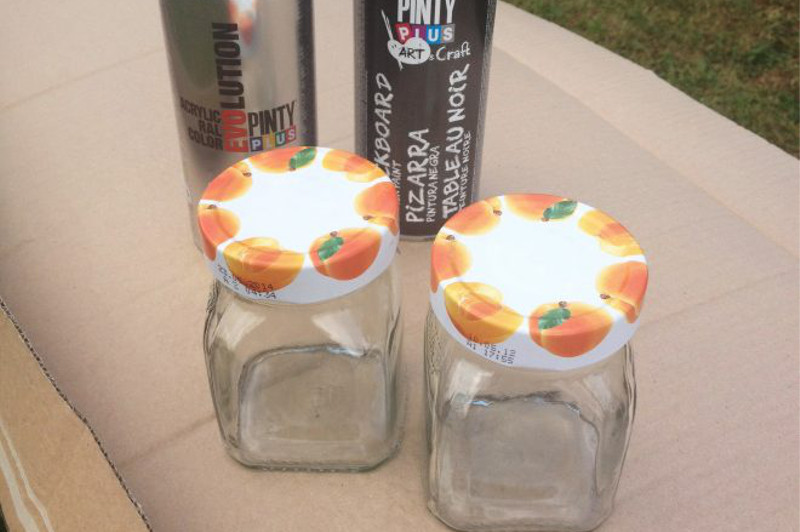
- Jam jars with lids
- Pintyplus spray blackboard paint
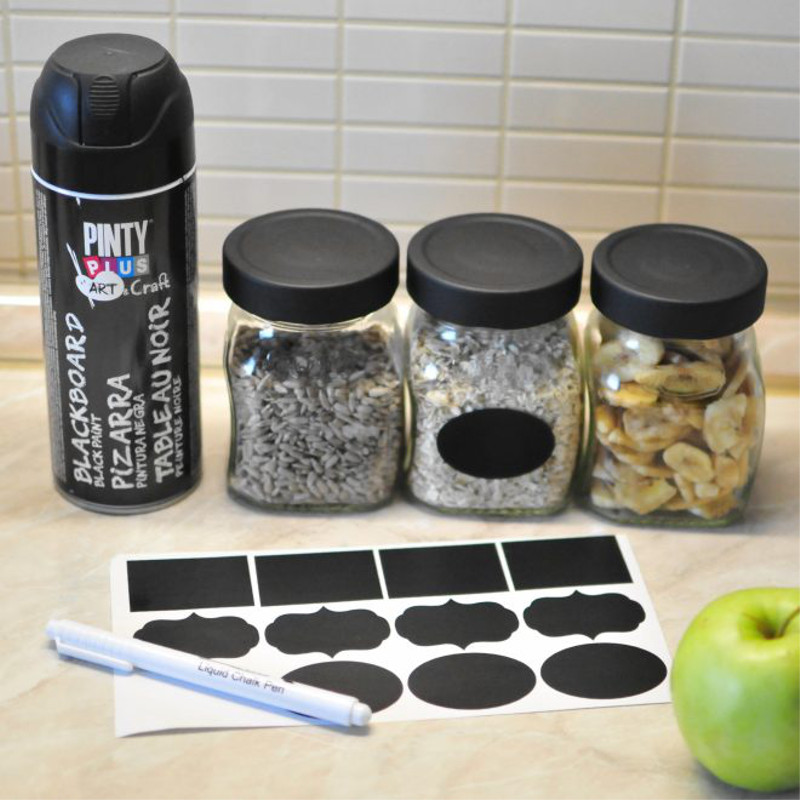
- Blackboard vinyl labels.
How to decorate jars step by step
- Thoroughly clean the jars and lids with soap and water and remove any adhesive label residue.
- Once they have dried, place the lids on a piece of cardboard or protective paper.
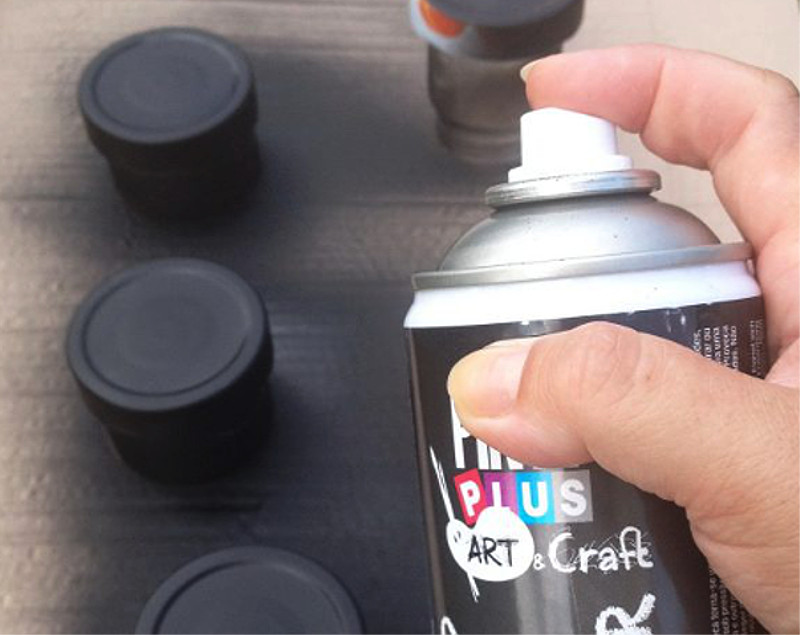
- Shake the aerosol cans for a couple of minutes and apply a test spray on to a piece of cardboard. By doing this the initial pressure in the can is released and the first coat will be uniform
- Next, keeping the can about 25 cm away from the surface, apply the paint in thin and continuous layers until the lid is completely covered.
Finally, apply the adhesive labels and add the contents and expiry date
Tips for painting with spray blackboard paint:
The jars of the jam jars are already prepared to prevent rsuting so it is not necessary to apply primer. Also, Pintyplus spray blackboard paint adheres well metal
If you wish you can also paint the glass with the same paint.
Applying the paint in light layers will promote good adhesion and scratch resistance. In fact, the more layers of paint, the more damage resistant it will be.
Before you use chalk on the surface, wait 24 hours after applying the last coat of paint. Then you can write, draw and erase as many times as necessary.
To get a perfect erase, rub it lightly with a cloth dampened with water.
If this project inspires you we’d love to see your creations, using our chalkboard spray or any of the Pintyplus paints. Share them with us on social media using the hashtag #pintypluser
Pintyplus - Art - Blackboard Paint - 400ml
Blackboard paint, black color and matte finish
£12.99
View product
