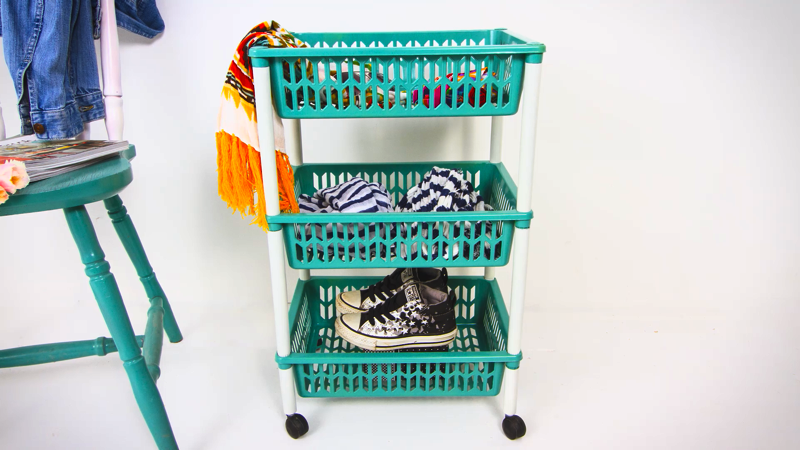
Do you want to paint plastic, but don’t know which paint is the most appropriate? The following video tutorial will show you the steps you have to follow in order for the paint to adhere correctly.
Achieving a perfect result is easier than you imagine! In this video we will see how to paint a plastic laundry cart with spray paint. To ensure the paint adhered well we used our primer for plastics and then finished with an acrylic spray.
By the way, the title of this video is Spanish, but there is no Spanish spoken in the video!
If you’re wondering why people rave about using spray paint this tutorial demonstrates why it gives such an great result. Spray is perfect for spraying something like baskets because it reaches all corners quickly with the minimum amount of paint. If you try doing it in a brush and you will spend an afternoon painting (or more)!
Materials
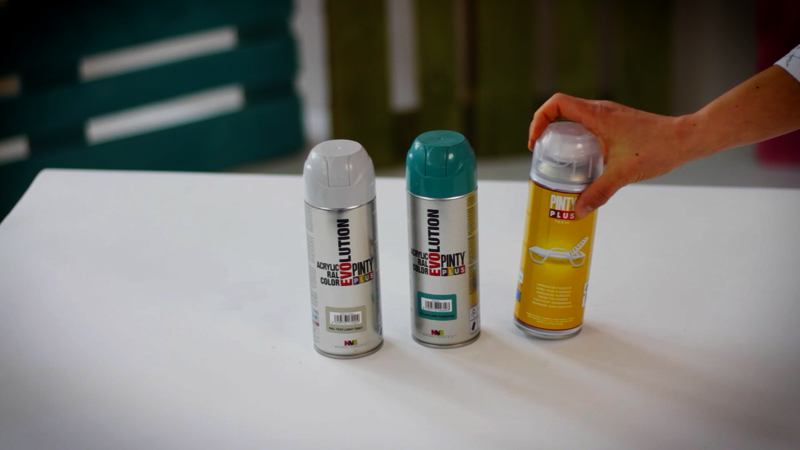
PintyPlus Tech Primer for plastics
Pintyplus Evolution spray paint in white and turquoise green.
How to paint a plastic cart with spray paint step by step
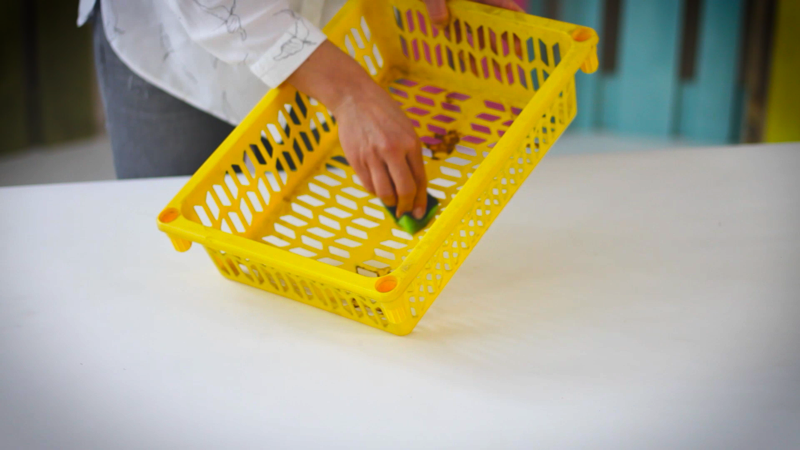
1 – Dismantle the cart and clean
The surface to be painted must be clean, dry and free of any type of contaminant, so it is vital not to be in a hurry in this step.
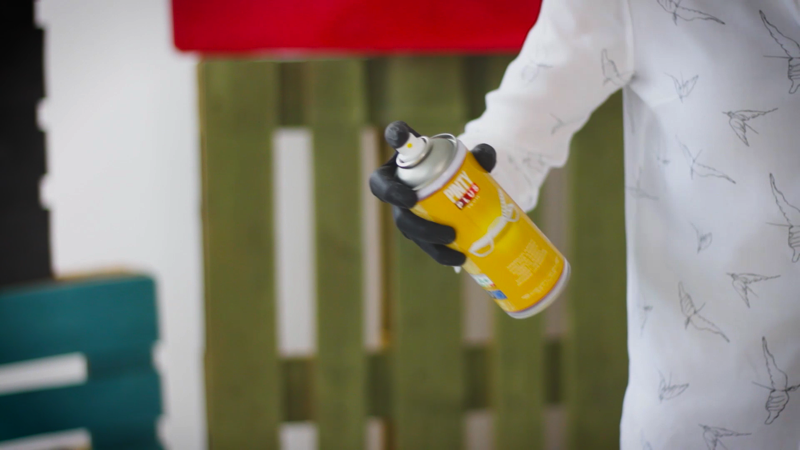
2º Apply a layer of primer for spray plastics
The purpose of using a primer for plastics is to increase the adhesion of the surface to be painted. It is suitable to apply on many types of plastic such as water bottles, toys or plastic parts of a motorcycle you want to paint. We recommend always doing a test on a part of the support to verify the compatibility between the material and the paint. If you are going to use Pintyplus Evolution, compatibility is assured.
Shake well before painting and apply thin and continuous layers. This primer is transparent so you should pay attention to not leave unpainted parts
The plastics primer dries in about 15 minutes.
3º Apply the paint
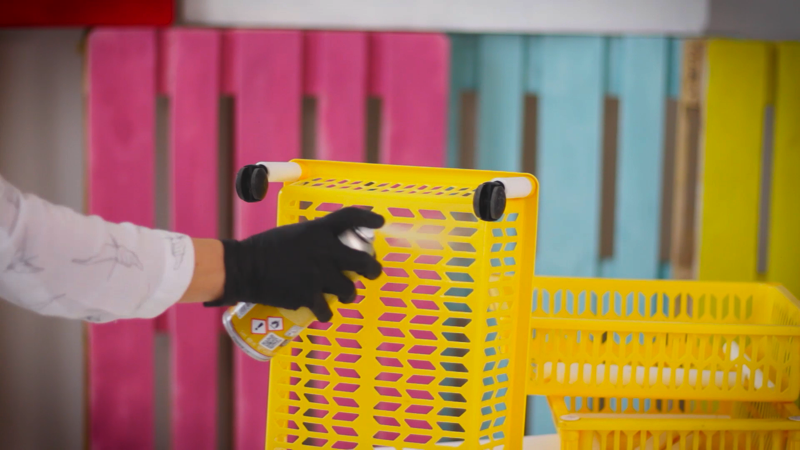
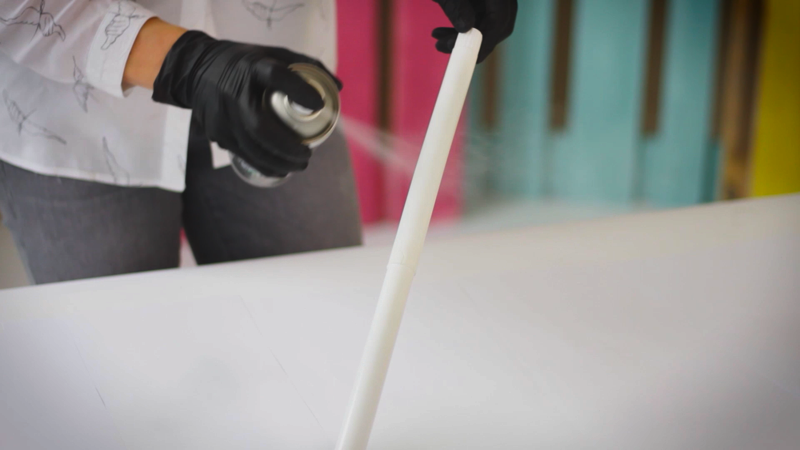
Shake the spray to mix the paint and spray the surface giving thin and continuous layers. First we will apply it on one side of the tray and then the other. Pintyplus Evolution also dries in a very short time. In a quarter of an hour you can handle the piece without fear of staining or leaving your fingers marked. While they are drying, you can paint the legs of the cart, or vice versa.
And there you go. A very easy DIY which shows how easily you can transform the look of any item even when it’s made from plastic!

