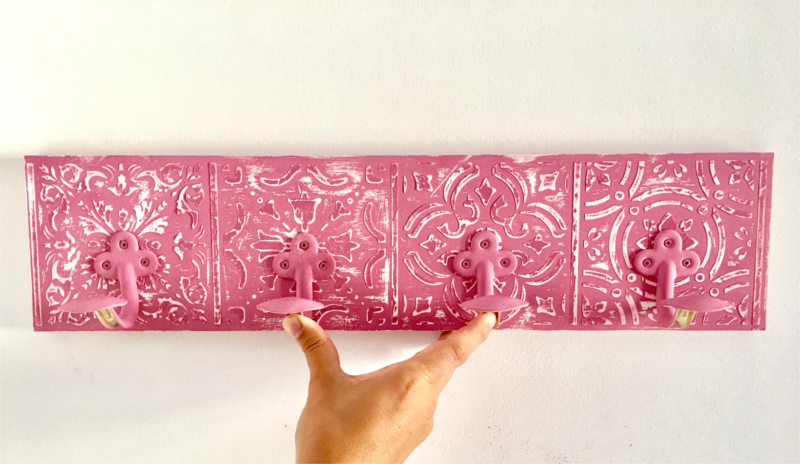
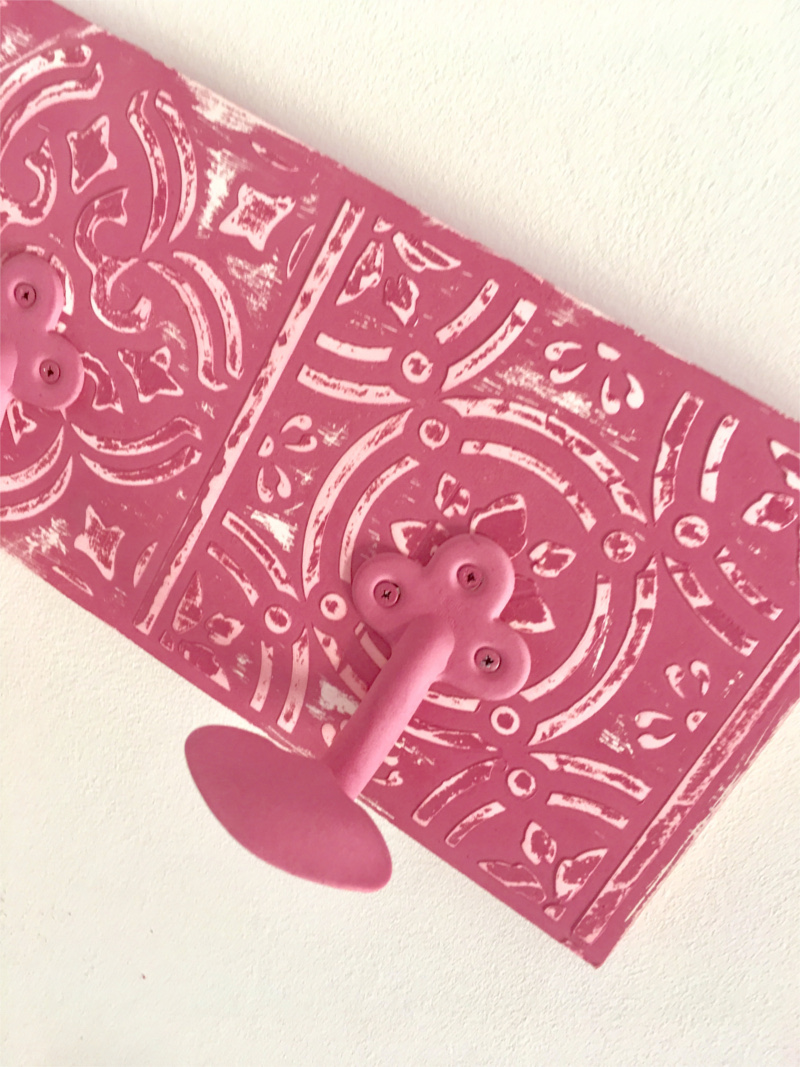
In this post we’ll be showing you how to use our PintyPlus tile style stencils combined with our chalk paint and metal primer to create a low cost rustic Mediterranean style coat rack quickly and easily. This tutorial also shows you how to use texture paste to give your stencils a 3D appearance.
Materials
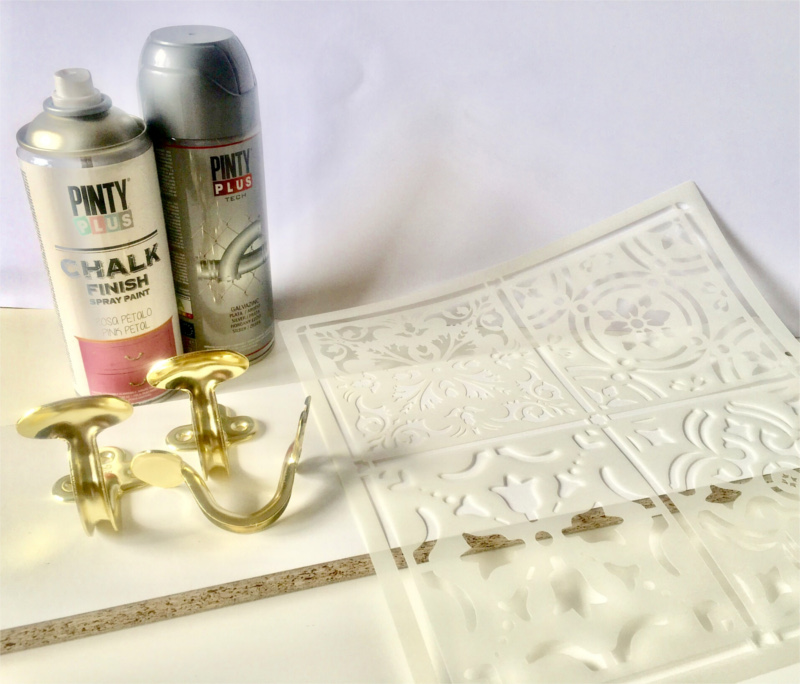
For this project you will need the following…
- Glue
- Metal coat hooks & wooden board
- Screws
- Texture paste
- Pintyplus stencil
- Pintyplus Art & Craft Removable Adhesive
- Pintyplus Tech Primer
- Pintyplus Chalk Finish Spray Paint
- Pintyplus Varnish for Chalk Paint in Spray
Pintyplus - Chalk Spray Paint - 400ml
CHALK PAINT in an aerosol. Gives an ultra matt finish in a choice of superb colours. Perfect on any surface!
£10.99
View productPintyplus Stencils for spray painting
The stencils for spray painting Pintyplus are designed to be used an unlimited number of times.
£12.75
View productPintyplus - Art - Repositionable (removable) Adhesive Spray - 400ml
Stick and take off as many times as you want
£15.99
View productPintyplus - Tech - Galvanic Spray Primer - 400ml
Anticorrosive galvanic spray primer based on aluminum and zinc.
£11.99
View productStep by step guide to create your own stencilled coat rack
1º.- Prepare the surface
The first thing we will do is clean our surfaces well, so that they are free of dust or any other dirt. Paint does not hold well on dusty surfaces and a dirty surface can result in bumps in the finish
2º.- Removable adhesive and Stencil Pintyplus
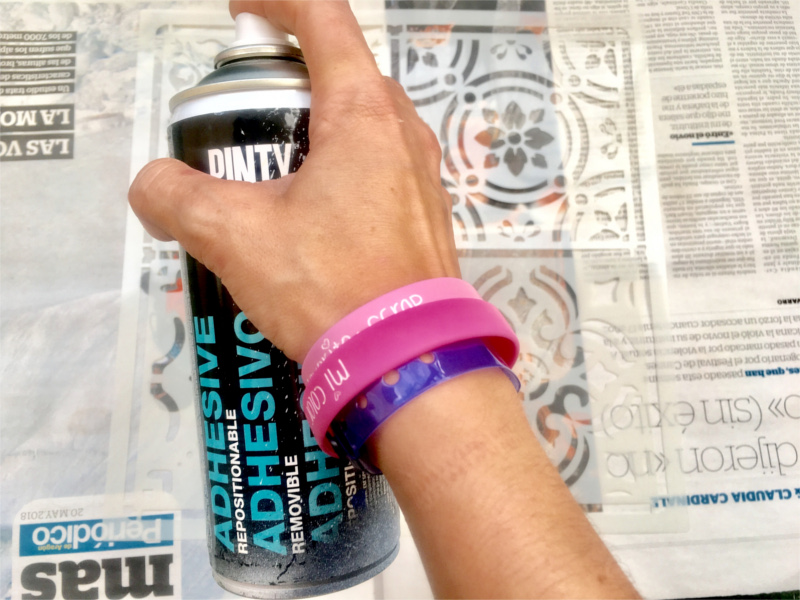
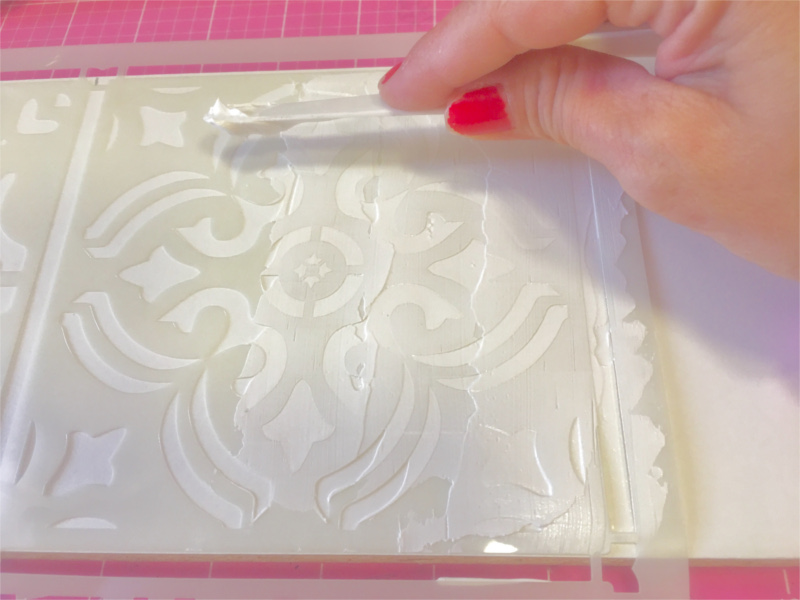
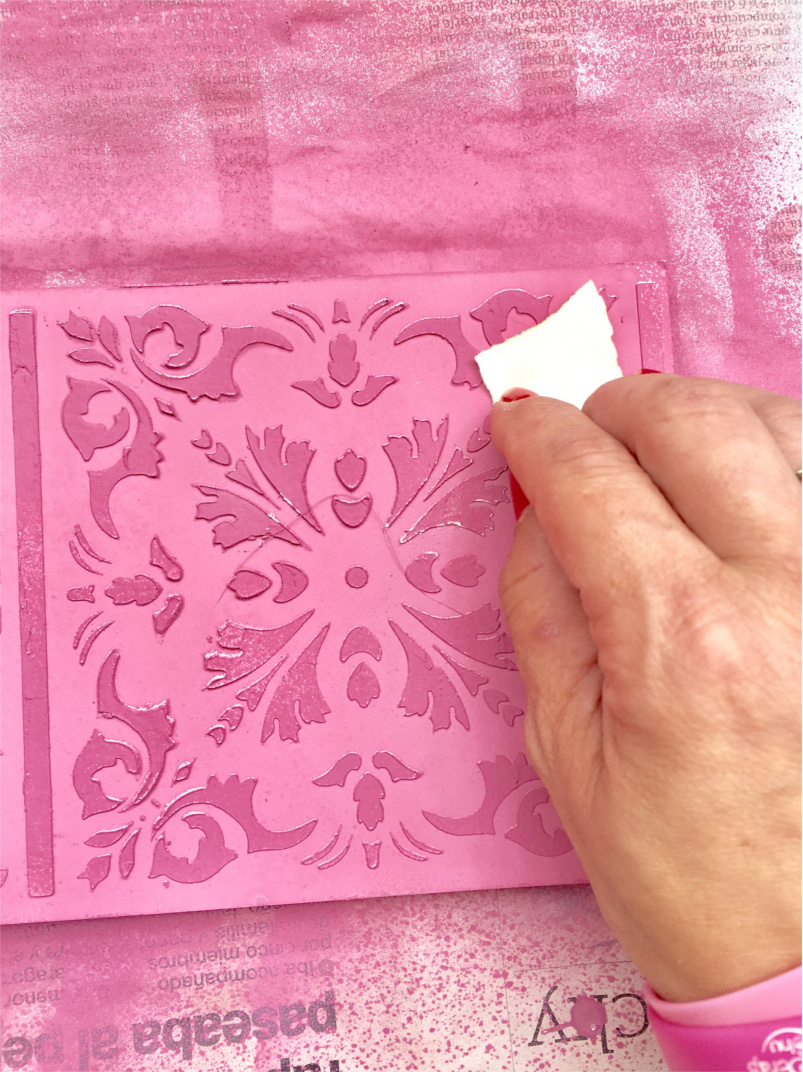
Next apply the Pintyplus removable spray adhesive to our stencil, we will let it rest a few minutes and then we will place it on our wooden board. Then, we apply texture paste with a splatula to help define the shapes of the stencil pattern.
3º.- Painting
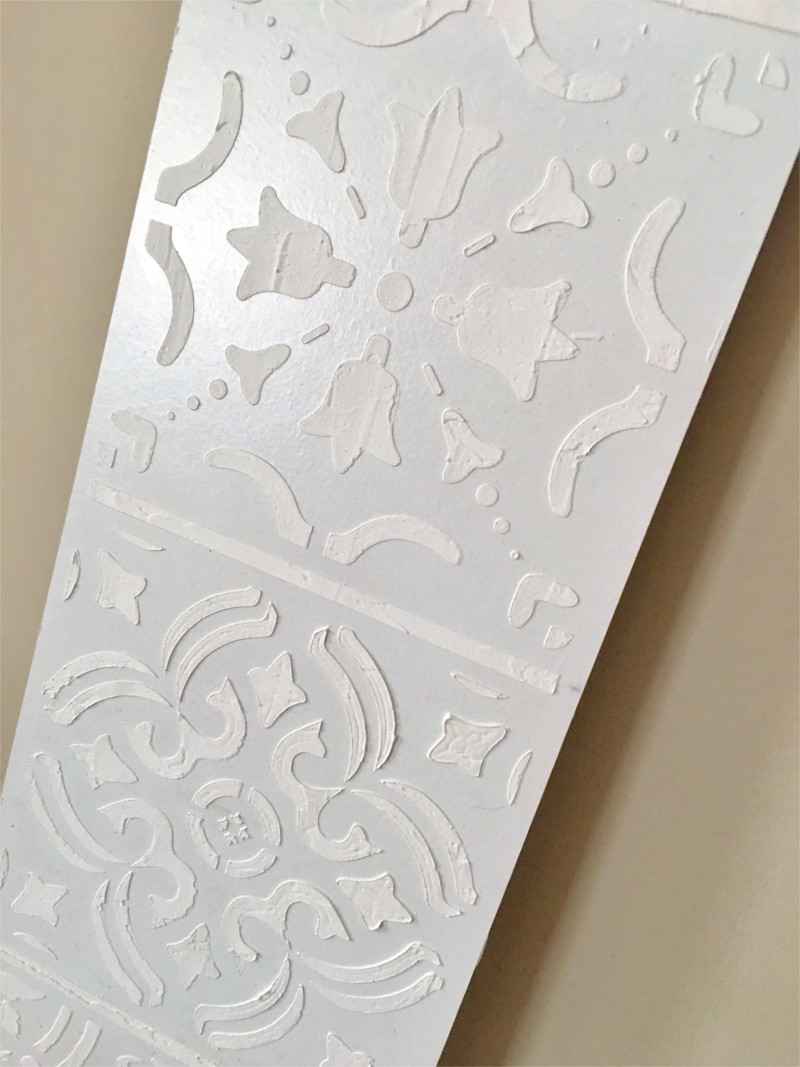
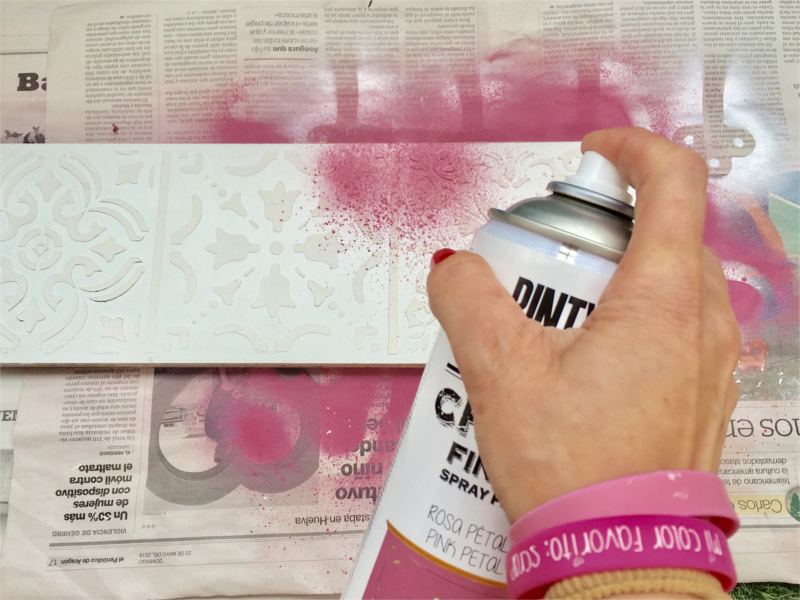
Wait until the texture paste has dried fully and then apply Pintyplus chalk finish spray paint in your choice of colour. For this project we have chosen Rose Petals, but we have 18 other colour options available. Be careful to let the paste dry properly otherwise when you use sandpaper to distress it you may find it removes the relief effect entirely.
4º.- Sanding
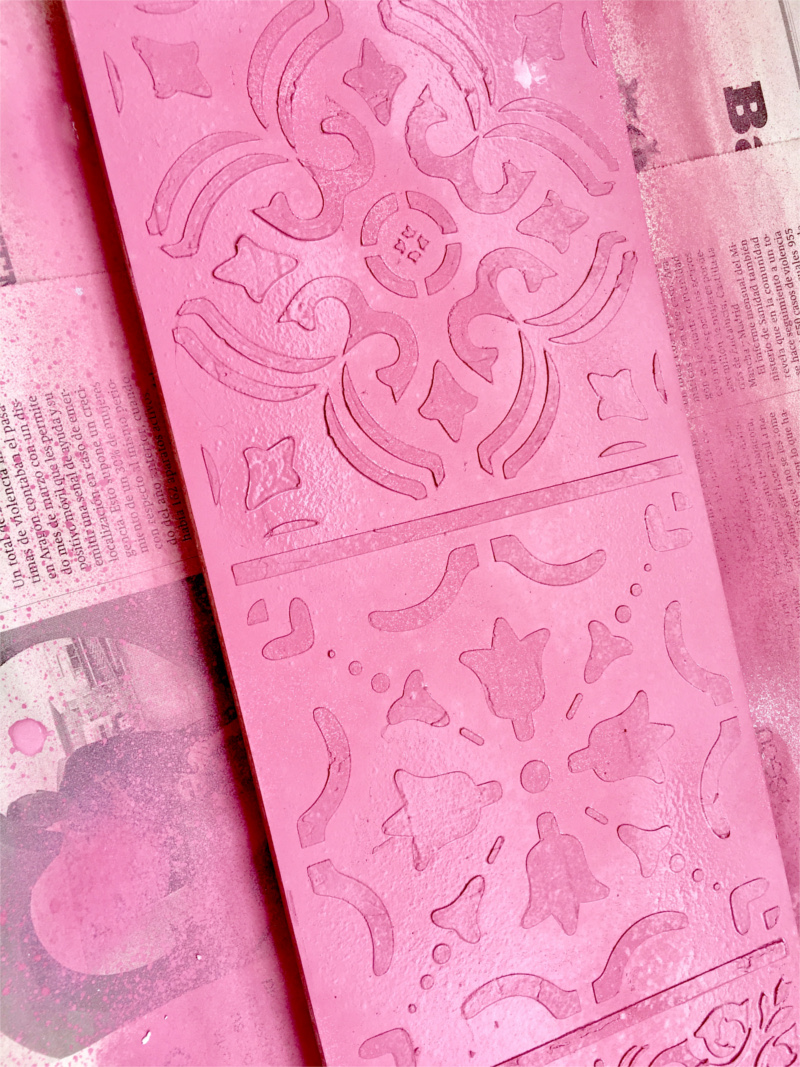
Once the chalk paint has dried fully, we use finegrain sandpaper to distress the finish and give it an antique effect. If you prefer your paint with a perfect finish you can skip this step.
5º.- Prime the metal and paint it
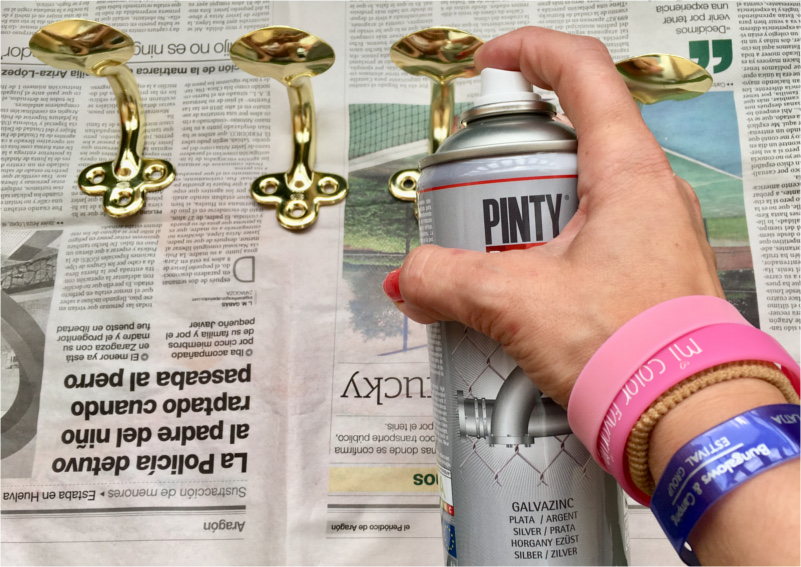
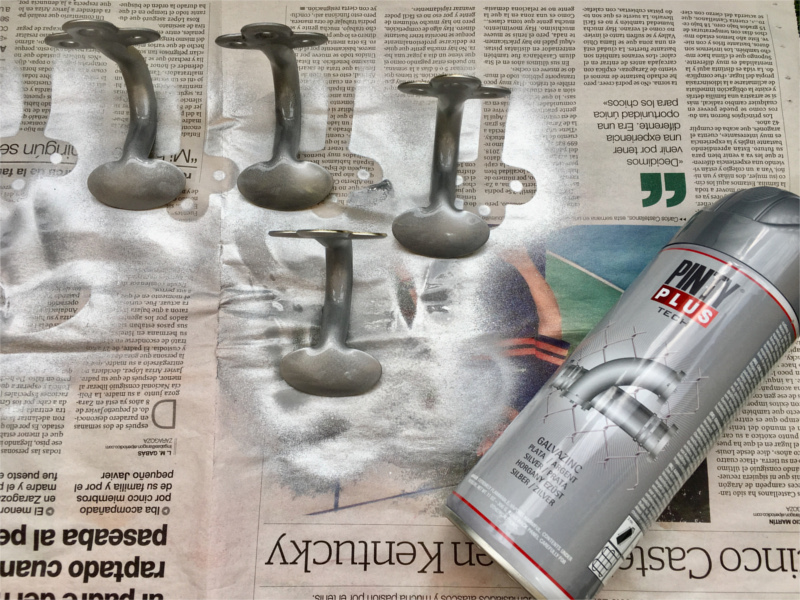
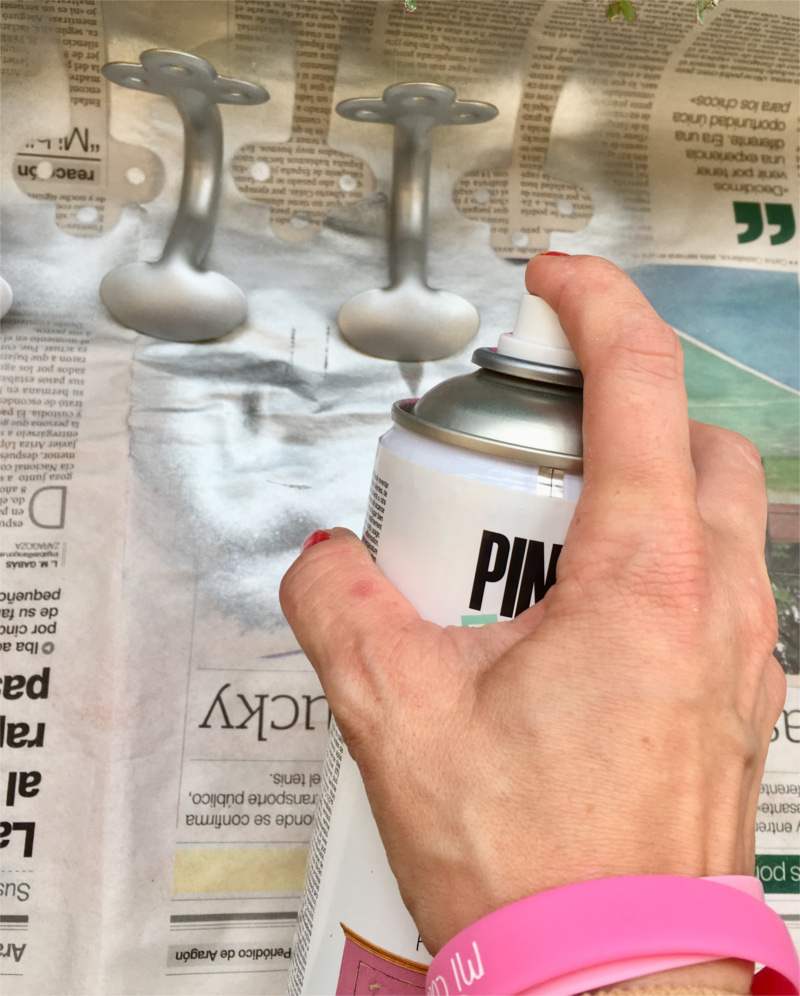
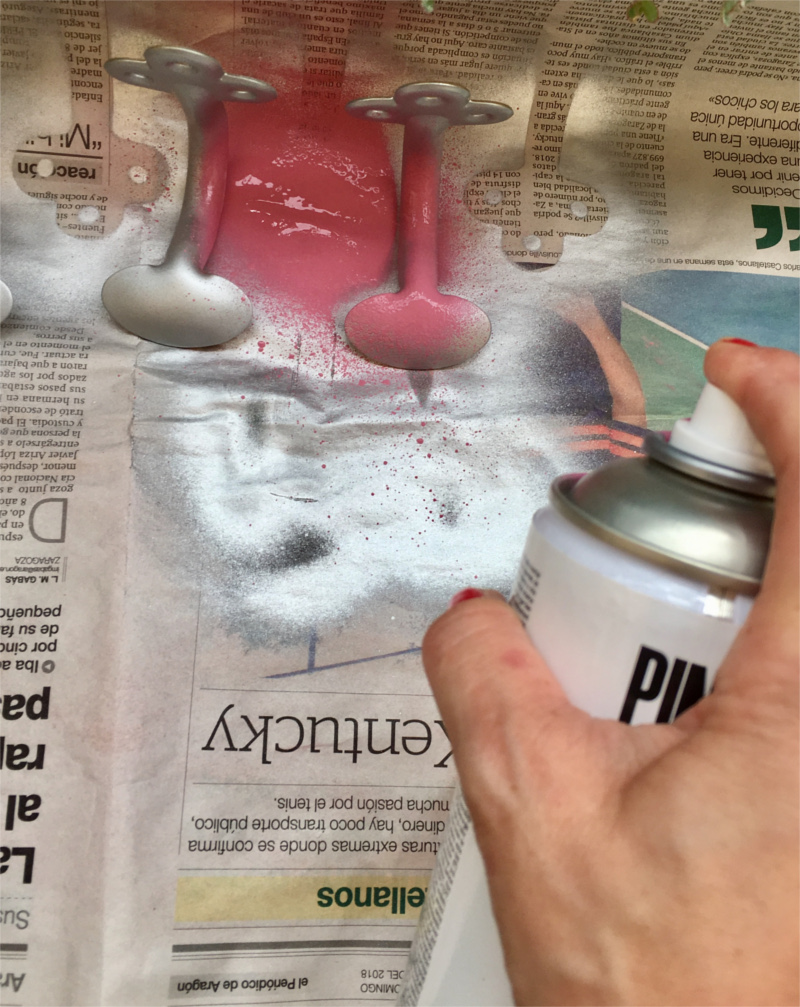
Next we are going to paint the coat hooks. When you paint non-porous surfaces the paint will tend to flake off if you don’t use a primer first. Luckily Pintyplus produces a spray primer called Tech Galvanic which is specifically designed to adhere to metal and gives a smooth uniform finish. When it has dried spray the hooks with Rose Petal Chalk Finish spray paint as you did with the backing board.
We’ll also do the same with the screws which we’ll be using to fix the hooks to the board.
6º.- Prepare the screws
Finally, we drill in the place where we will place the screws for our coat rack. Once everything is finished, as a final touch, we apply a layer of spray varnish to protect the surface.
Pintyplus - Chalk Spray Paint - 400ml
CHALK PAINT in an aerosol. Gives an ultra matt finish in a choice of superb colours. Perfect on any surface!
£10.99
View productPintyplus Stencils for spray painting
The stencils for spray painting Pintyplus are designed to be used an unlimited number of times.
£12.75
View productPintyplus - Art - Repositionable (removable) Adhesive Spray - 400ml
Stick and take off as many times as you want
£15.99
View productPintyplus - Tech - Galvanic Spray Primer - 400ml
Anticorrosive galvanic spray primer based on aluminum and zinc.
£11.99
View product