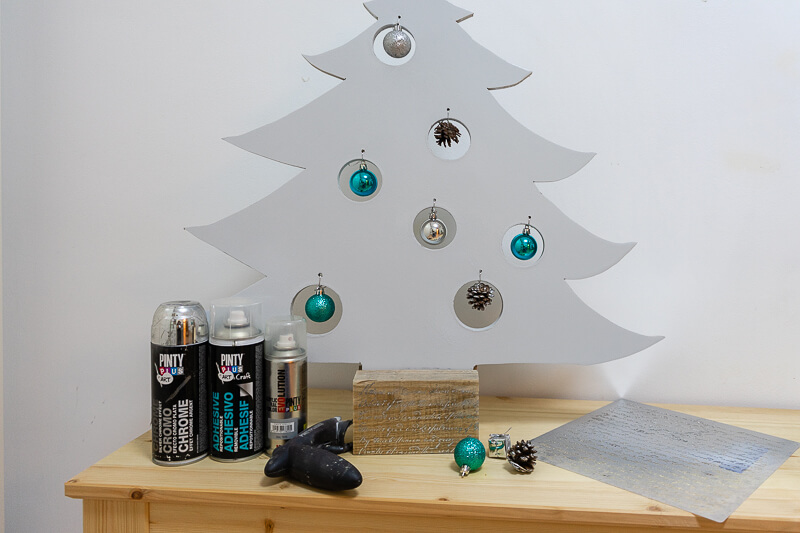
If you are looking for a festive craft project to keep you occupied in the run up to Christmas or just a novel way of decorating your home, then we have got a great craft project for you which uses our spray paints and our new range of stencils to create a contemporary looking Christmas tree, which you can uses year after year.
This project comes from one of our Spanish bloggers Mari Luz who writes at Brico Y Deco
Materials to decorate an MDF Christmas tree
The materials that you will need for this Christmas craft project are:
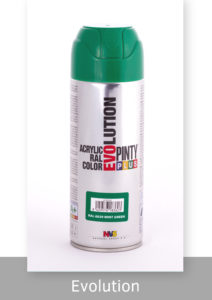
- Pinty Plus Evolution spray paint
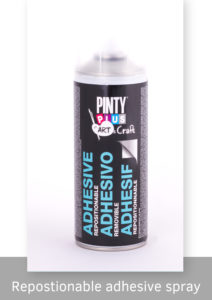
- Pinty Plus temporary adhesive spray
- Pinty Plus chrome effect spray paint
- Pinty Plus gun attachment for spray paints
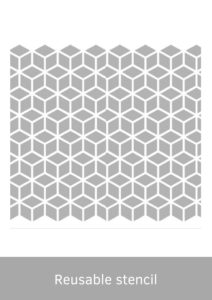
- Pinty Plus reusable stencils
- Christmas hanging ornaments
How to paint a Christmas tree with spray paint
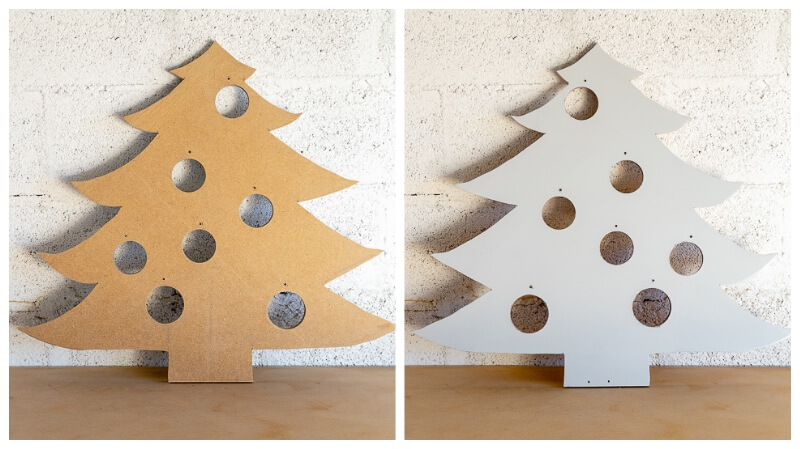
1º.- Paint the tree with Pintyplus Evolution spray paint
To make this Christmas tree, Mari Luz has used a jigsaw to cut the shape she required from MDF, but if you don’t have the equipment or aren’t feeling brave enough to cut your own there is a huge choice of ready cut designs to buy online, such as this one or this one.
Pintyplus Evolution is perfect for painting surfaces that require quick drying and guarantees excellent protection and a smooth and uniform finish on virtually any surface. Mari Luz chose Gray RAL 7035 a contemporary stylish shade which goes with most interiors.
To apply it you should shake the aerosol for a minute after you can hear the mixing balls start to move and apply in thin layers. If movements are made horizontally and vertically, we will ensure a good coverage in a few minutes.
2º.- Decorate the base using spray paint stencils
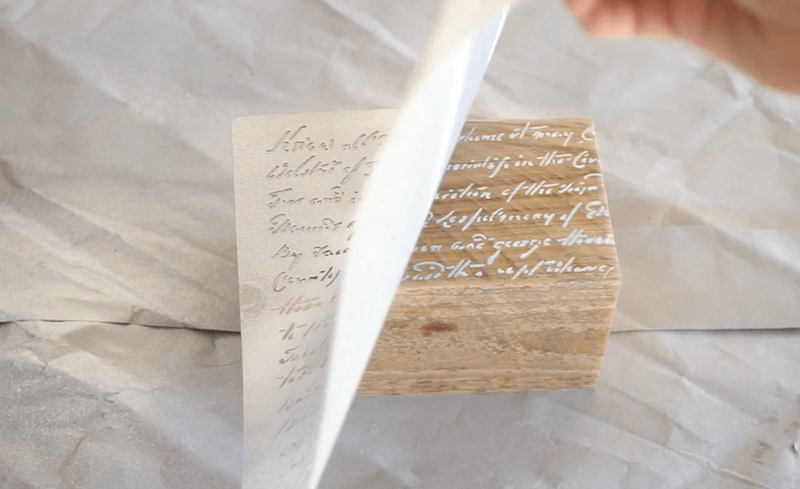
Next we are going to decorate the wooden base of the tree using a stencil and silver chrome spray paint .
- Apply removable adhesive spray on the back of the stencil to make sure it does not move while we paint.
- Spray with chrome paint keeping a distance greater than usual. So if it is normally recommended to place the spray paint can about 20/25 cm, this time it will be extended to about 40 cm. In this way, you avoid accumulations of paint below the stencil.
3º.- Hang the Christmas decorations
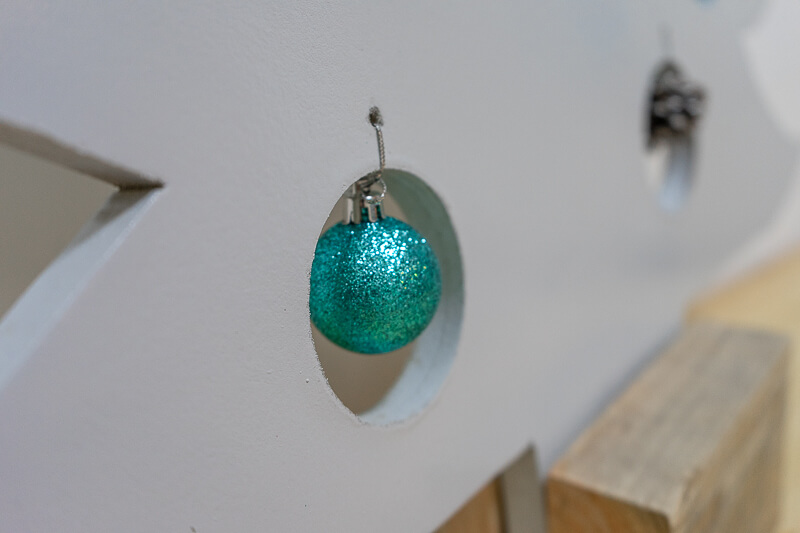
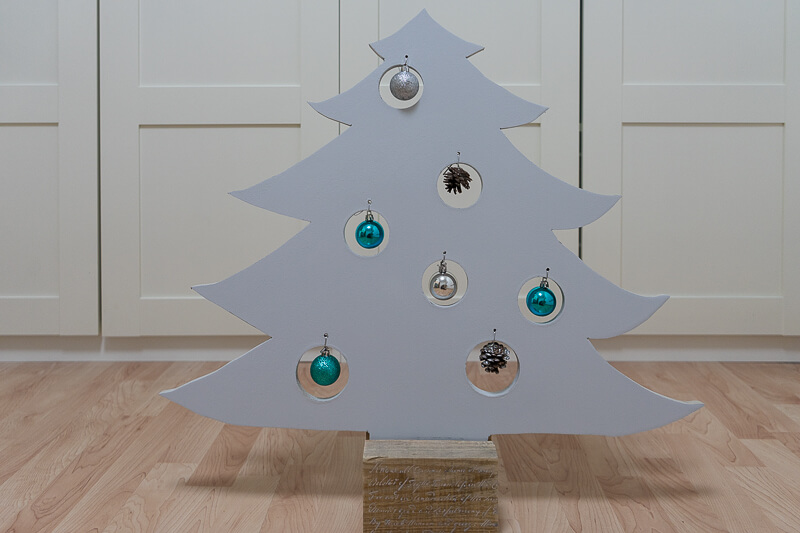
The last step will be to place the ornaments of the tree . Silver and gray go well with many shades, but in this example we have chosen blue.
After these simple steps you have an original and contemporary looking DIY Christmas tree.
If this project inspires you don’t forget to share your festive craft makes with us on social media using the hashtag #pintypluser.

