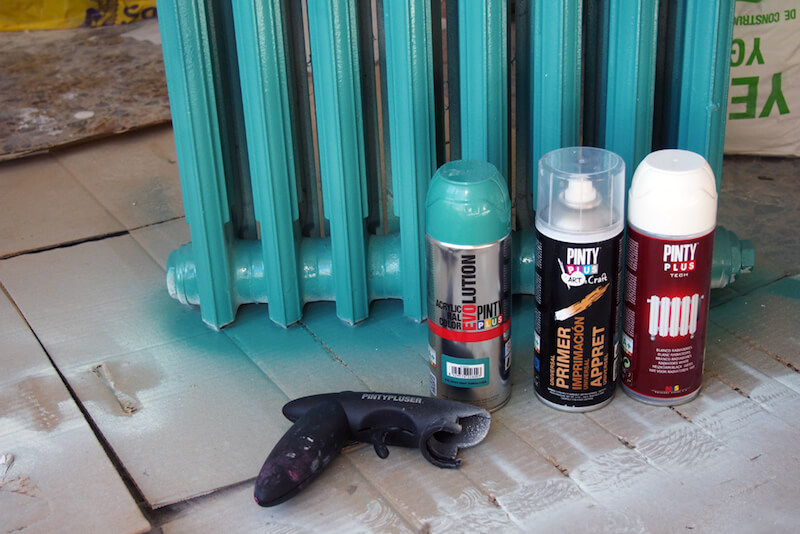
Do you need to repaint the radiators in your home? Or are you simply thinking about changing their colours so they fit in with your colour scheme? In either case do not miss this tutorial in which Sara from Mamis y Bebes.com shares her experience when painting iron radiators in her home with spray paint.
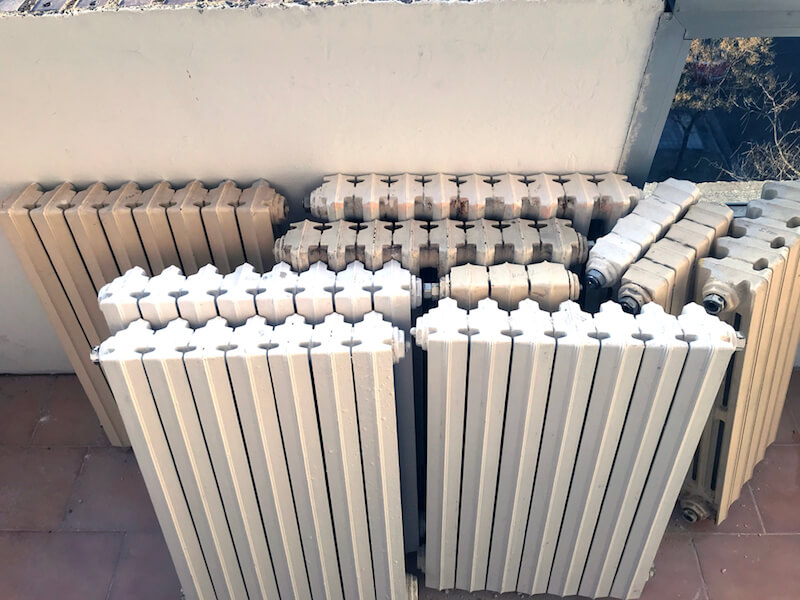
There is no doubt that when we are faced with a large-scale home refurbishment we have to make difficult budgetry decisions. The home that Sara is doing up had old cast-iron radiators. They were old on the outside, but they worked perfectly so, instead of replacing them, she chose to respray them
Materials
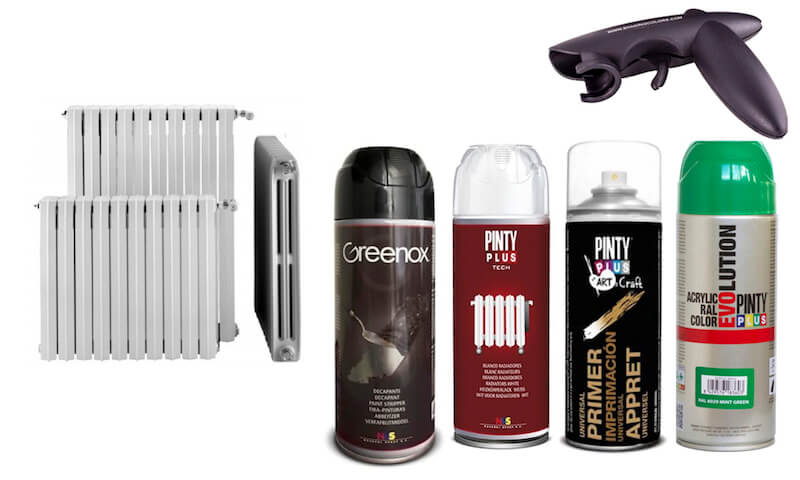
So that your old iron radiators look like new you will need:
• Greenox paint stripper
• Pintyplus Tech ferric primer
• Pintyplus Tech Paint for radiators
• Pintyplus Evolution acrylic paint
• Pintyplus spray gun (optional)
How to repaint iron radiators step by step
Repainting iron radiators is a simple but satisfying DIY job that anyone can take on.
Here are some simple steps to help you get the best result.
1º.- Disassemble the radiators
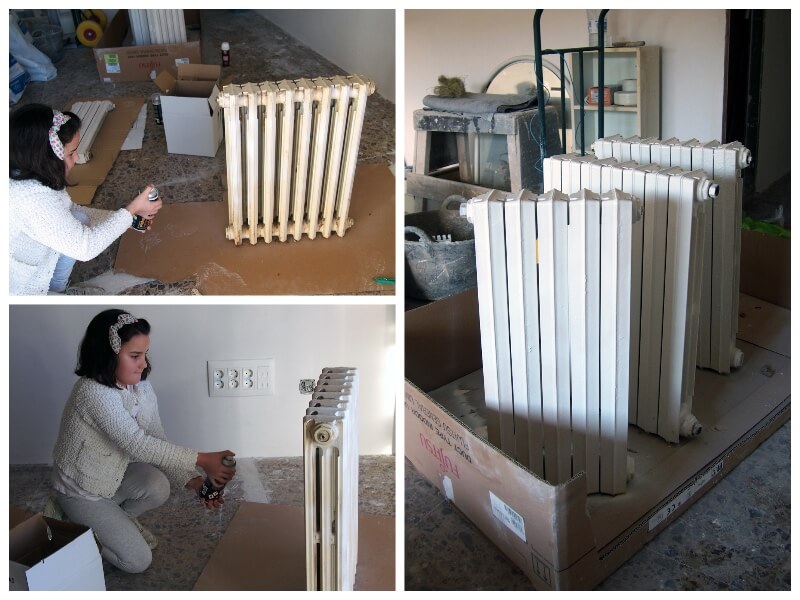
Take the radiators off the wall and take them apart if possible. Clean the surfaces and apply paint stripper. To avoid problems when you rehang them, Sara advises that you write down which one corresponds to each room. You can also paint the radiators without removing from the wall, as you can see in this article on how to paint a radiator.
If you choose this option, you should be careful to put a sheet of cardboard behind the radiator so that the wall is not marked, as well as another on the floor. Sara used steam to soften the dirt and then removed it with a rag then applied Greenox spray paint.
2º.- Apply primer
When the radiators are sparkling clean, you can proceed to the next step that will consist of applying the primer. If you are going to paint several radiators as in this case, it is advisable to use a suitable protective mask whilst spray painting. In addition, it is important to paint in a place that is well ventilated.
Applying the primer is simple, you just have to take some precautions : Pressing the spray button can be a bit tiring. You’ll find you get better results and it’s easier on your hands if you use the Pintyplus spray gun. It is a universal accessory that fits into any aerosol can and is infinitely more comfortable. It’s inexpensive and greatly improves the experience of spray painting, for this reason Sara recommends its use.
When spraying keep the can about 30 cm approximately of the object you want to paint. If you paint too close, you risk getting a build up of paint which may run and you will spoil the result. For the best results spray horizontally and then vertically to give a thin coat all over. The movement has to be constant so that all areas receive the same amount of paint. For this makeover, Pintyplus universal spray primer has been used. In the event that the radiators show signs of rust, it is recommended to apply Pintyplus Tech ferric primer.
3º.- Apply the radiator paint and top coat for colour
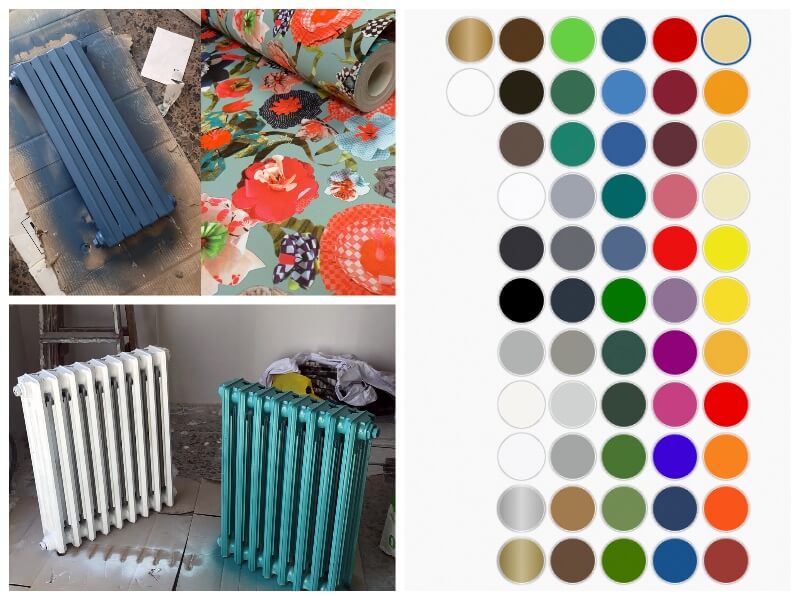
Once the primer has dried, the Pintyplus radiator paint should be applied. It is a paint that is especially designed to withstand heat. It’s white in colour which is the popular choice for most radiators, but what if we want to give them a little colour?
Sara decided to unleash her creativity and integrate the radiators into the colour schemes of her new home. For this reason, for the hall and the kitchen, she decided to paint them to match the wallpaper and the rest of the decoration. The colors she chose from the extensive Pintyplus Evolution color chart were RAL 6033 Mint Turquoise for the kitchen and RAL 5017 Traffic Blue for the hall. Sara says she could not have chosen better because she says they are more beautiful in real life than in the photo.
After following all these steps, Sara says she is really satisfied with the result. She found it very straight forward and in fact the children even helped! In addition, some years ago she painted some radiators with a brush and found it was hard work reaching all the holes. With spray paint, it has not only been much easier, it has also achieved:
A spectacular finish
Save a lot of money by recycling the radiators
Do all the renovation work in record time
If you want to see more inspiring DIY ideas like Sara's, you can follow us on Facebook or Instagram.

