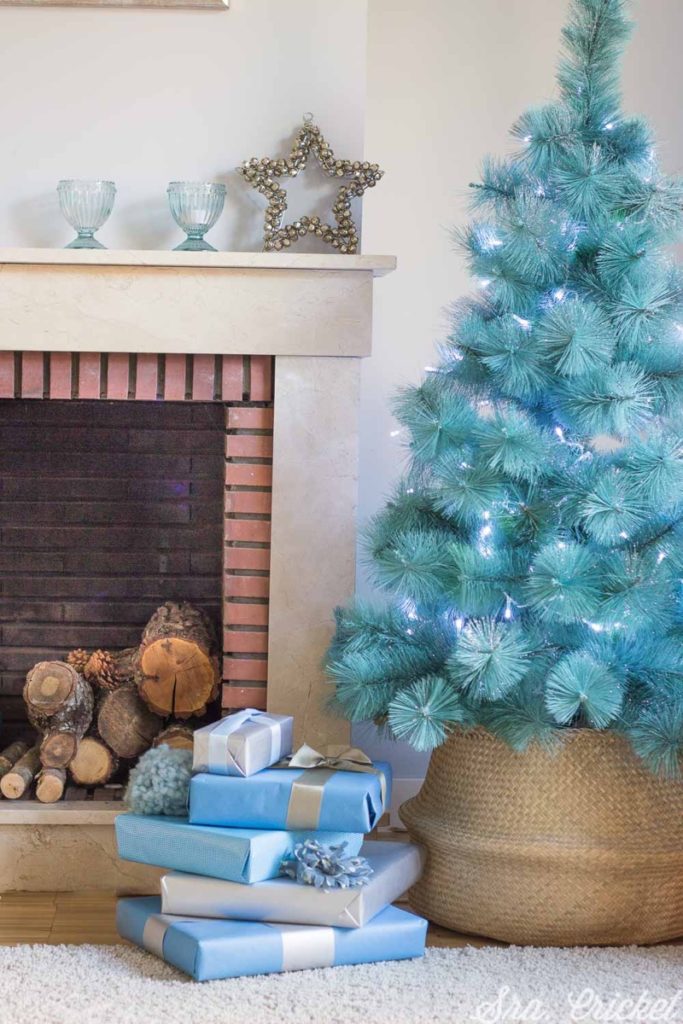
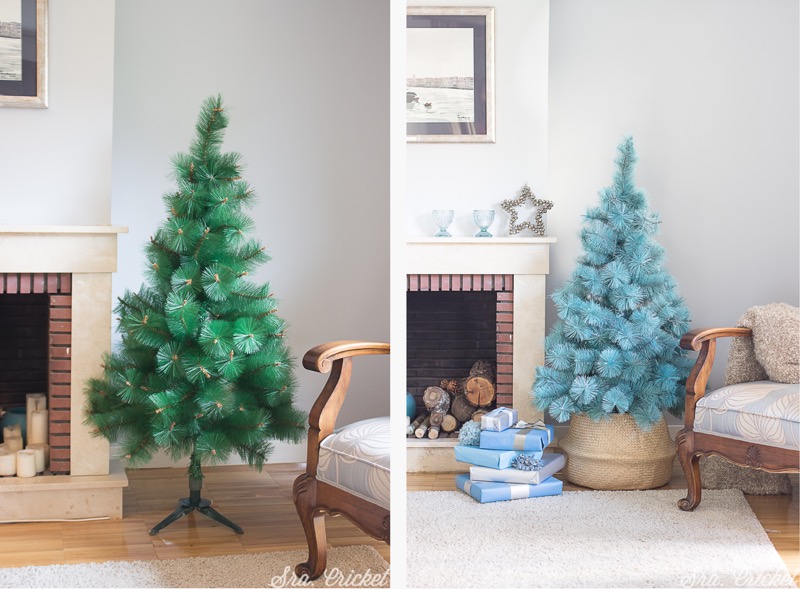
Do you fancy a different colour theme for your Christmas decorations this year? In the following video tutorial you can learn how to transform your Christmas tree with Pintyplus spray paint. You will be surprised how easy it is!
Our friend and blogger Almudena from Mrs. Cricket shows us how to decorate the kind of typical artificial tree that many of us have stored in the loft or attic and turn it into a unique centrepiece for your festive decor.
Materials to decorate a Christmas tree Pintyplus universal primer or Pintyplus plastic primer PintyPlus Chalk Paint spray in turquoise and white broken PintyPlus gloss varnish PintyPlus Removable adhesive spray Frost powder (silver glitter)How to decorate a Christmas tree with chalk paint The following video (Spanish language) shows the whole process to totally transform this Christmas tree:
Step 1 - Prime

As it is a plastic tree we started with Pintyplus universal primer, but you could also use the primer for Pintyplus plastics. We recommend applying a thin layer and wait one hour before painting with chalk paint spray.

If you wanted to skip the Primer step you could use a colour from our Basic or Evolution range which both have good adhesion to plastics without the need for a primer.
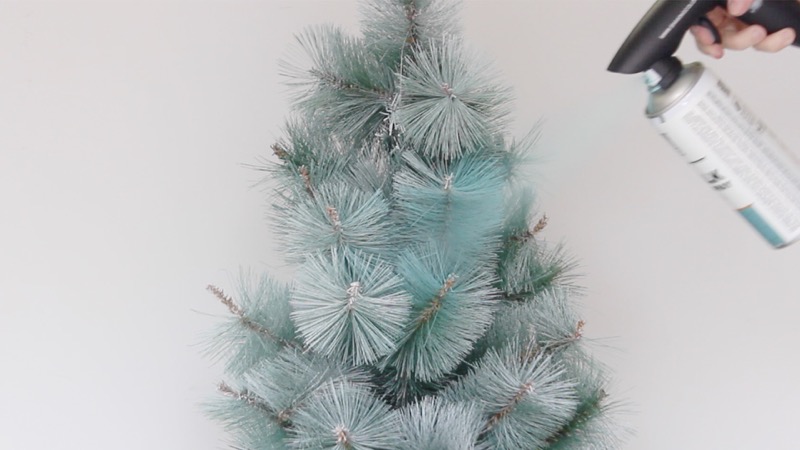
Step 2 - Paint
We applied Pintyplus spray paint in turquoise giving a fine coat all over the tree. To give it a more Christmas look, the tree was finished with a little Pintyplus chalk paint in broken white in some areas. It gives a very beautiful winter air.
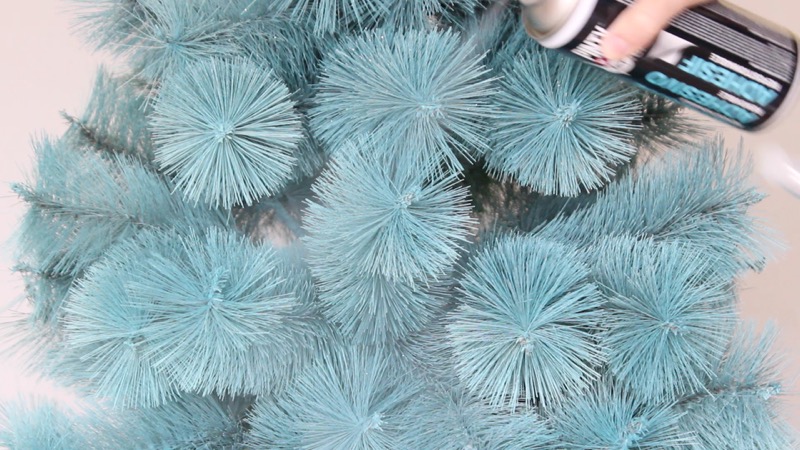
Step 3 - Give it a touch of glitter Before finishing it, Almudena gave it the final touch with silver frost dust. First sprinkle some Pintyplus removable adhesive on the leaves so that the glitter will stick, then he applied water-based spray varnish to fix it permanently to the leaves
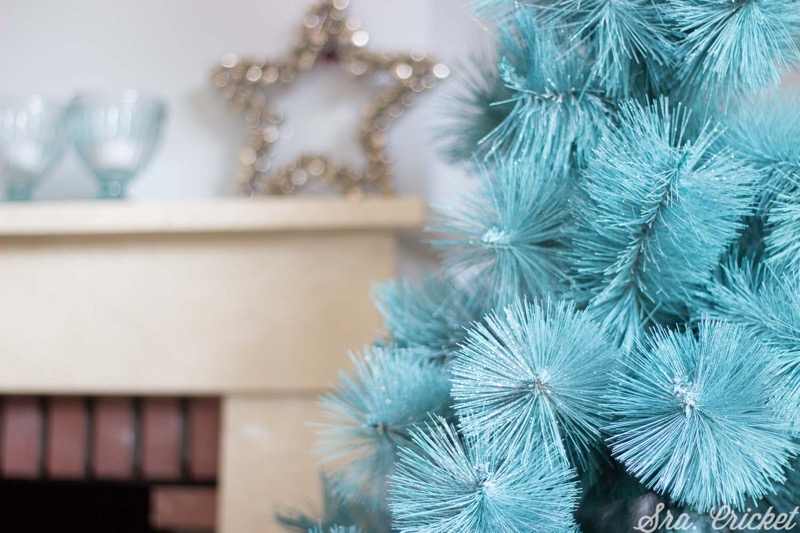 And we think you'lll agree the finished result looks fantastic!
